When disaster strikes, the last thing you want is to be stuck rummaging through a junk drawer for a flashlight or realizing your “emergency supplies” consist of half-empty water bottles and expired granola bars.
The truth? Most people either over-prepare with gear they’ll never use, or under-prepare and end up scrambling when it matters most.
Your initial goal shouldn’t be to survive indefinitely in the wilderness; it should be to stay safe, hydrated, and informed until normalcy returns (or until you can reach help).
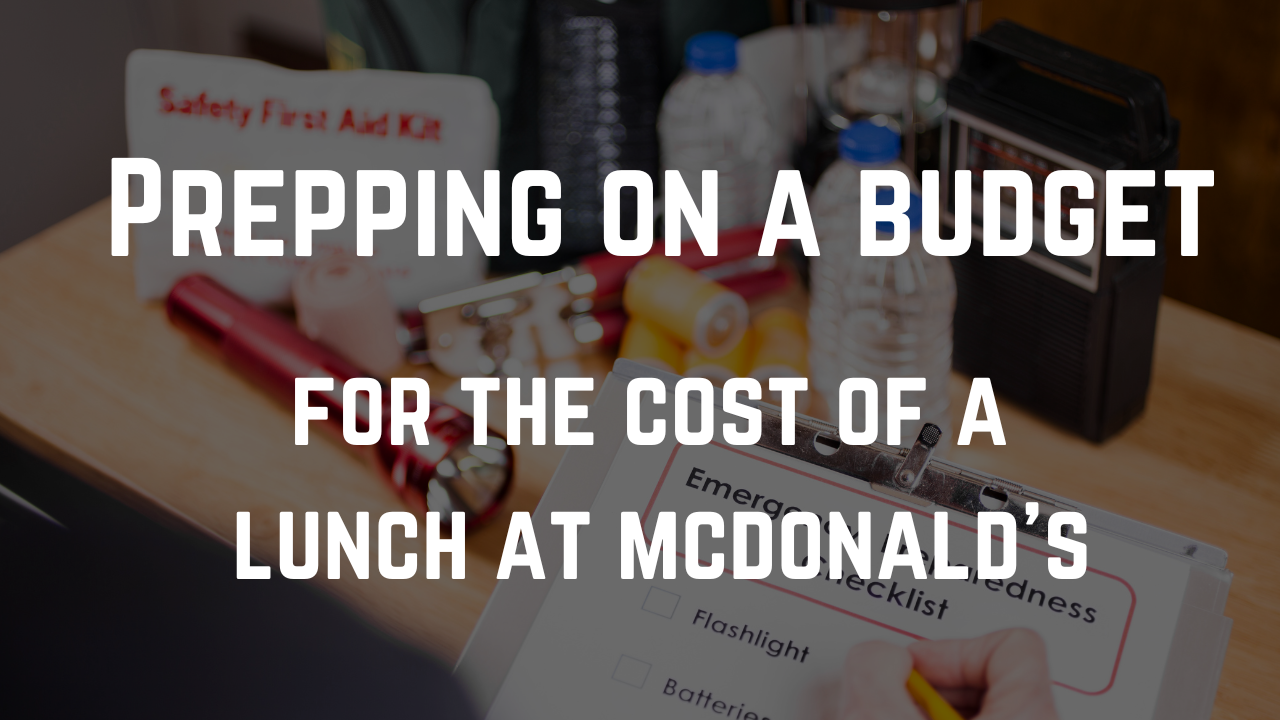
For those who are just starting out, here’s how to build a starter emergency kit that’s simple, effective, and should cost around $200. Start by taking inventory of what you already have, spend only what you can afford, and gradually add as needed.
You can plan for more once these basics are covered. So….
Start With The Basics
In any emergency, those initial three days are critical – help may not arrive immediately, stores could be closed, and basic services might be disrupted. An emergency kit should support you (and your household) for at least 72 hours. Download a PDF template here
1. Water & Hydration
✅ What you need:
- 1 gallon of water per person, per day (3 gallons minimum per person)
- Water purification tablets or a portable filter (in case supplies run low)
❌ What you don’t need:
- A 500-gallon water drum (unless you have space and a plan to rotate it)
- Expensive electrolyte mixes (a small packet of salt and sugar can help with hydration in a pinch)
2. Food
✅ What you need:
- Non-perishable, easy-to-prepare foods (granola bars, canned goods, peanut butter, dried fruit, nuts)
- A manual can opener (don’t forget this!)
- High-calorie emergency ration bars (compact and long-lasting)
❌ What you don’t need:
- A year’s supply of MREs (unless you’re prepping for extreme scenarios)
- Bulk rice/beans (unless you have a way to cook them without power)
3. First Aid & Medications
✅ What you need:
- A basic first aid kit (bandages, antiseptic wipes, gauze, medical tape, gloves, tourniquet)
- Prescription medications (at least a 3-day supply separated from normal use)
- Pain relievers (ibuprofen, acetaminophen), antihistamines, and antacids
❌ What you don’t need:
- A surgical kit (unless you’re trained – it’s not just about owning tools)
- “Survival” medical gear with high price tags but little practical use
4. Light & Communication
✅ What you need:
- Flashlight (LED, battery-powered or hand-crank)
- Extra batteries (or a solar-powered charger)
- Portable phone charger (power bank with solar charging)
- Battery-powered or hand-crank radio (for emergency alerts)
❌ What you don’t need:
- A $500 tactical flashlight (a simple, reliable one will do)
- A HAM radio (unless you’re trained and licensed, focus on training first)
5. Shelter & Warmth
✅ What you need:
- Mylar blankets (lightweight, retain body heat)
- Warm clothing (extra socks, gloves, hats)
- Rain poncho (compact and multipurpose)
❌ What you don’t need:
- A full camping tent (unless you expect to be outdoors long-term)
- A $300 sleeping bag (fleece blankets will suffice in most cases)
6. Tools & Money
✅ What you need:
- Multi-tool or Swiss Army knife
- Duct tape (for quick repairs)
- Whistle (to signal for help)
- Copies of important documents (ID, insurance, medical info – in a waterproof bag)
- Cash in small bills (ATMs may not work in a blackout)
- Emergency Alert Apps – 7 Must-Have Apps That Will Boost Your Disaster Preparedness
❌ What you don’t need:
- A machete (unless you’re in a jungle survival scenario)
- Gold bars (cash is far more practical in emergencies)
Things to keep in mind:
- Keep it accessible: Store your kit in an easy-to-find place (not buried in the garage).
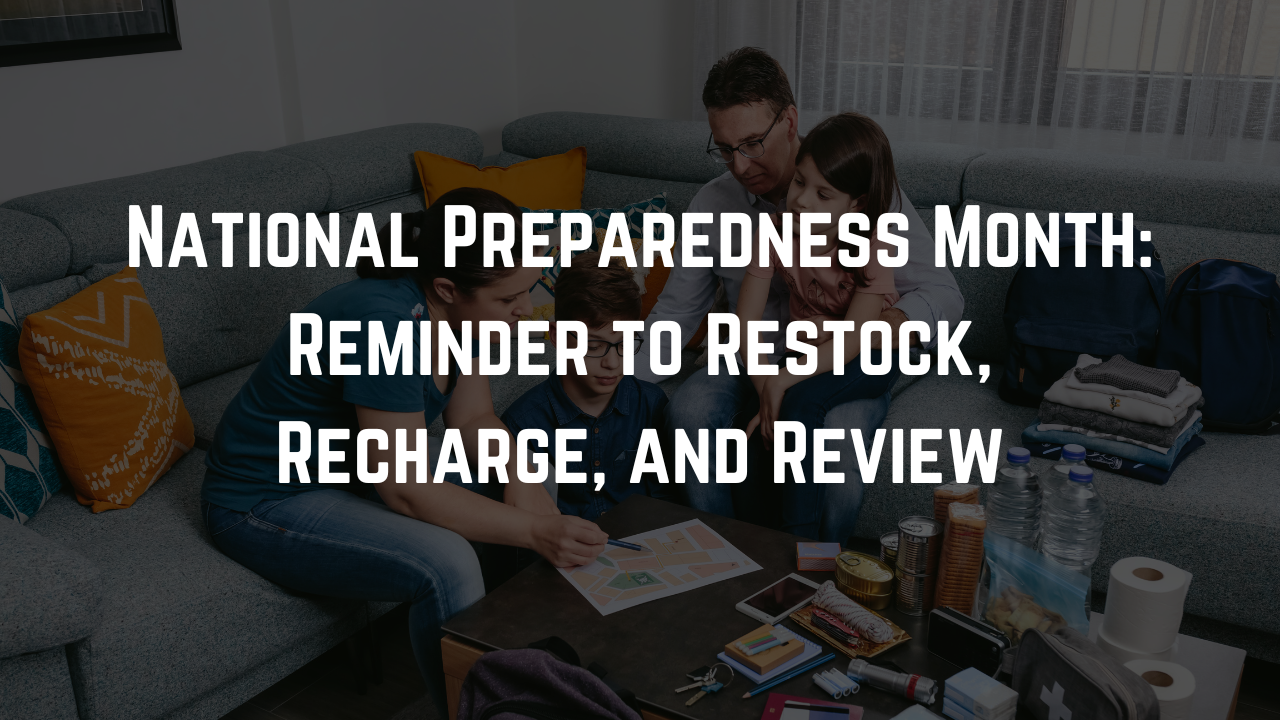
- Rotate supplies: Check expiration dates on food, water, and meds every 6 months (set a reminder on your phone).
- Make it yours. Add items like baby formula, pet food, extra glasses, or anything specific to your family’s needs.
When building your first kit, you don’t need to spend a fortune or prepare for the apocalypse (just yet). Focus on the essentials that will keep you safe and comfortable during the first 72 hours of an emergency. Once those are covered, you can take additional steps for longer-term resilience.
Small steps now can make a huge difference later. Start with what you have, add as you go—and know that being “ready for unsteady” is totally doable.