How to Create an Emergency Evacuation Plan
Ready For Unsteady Editorial Team
The Ready For Unsteady Editorial Team develops practical emergency preparedness guidance for everyday people. Content is informed by community preparedness training, public safety guidance, real-world experience, and reviewed for clarity and accuracy before publication.
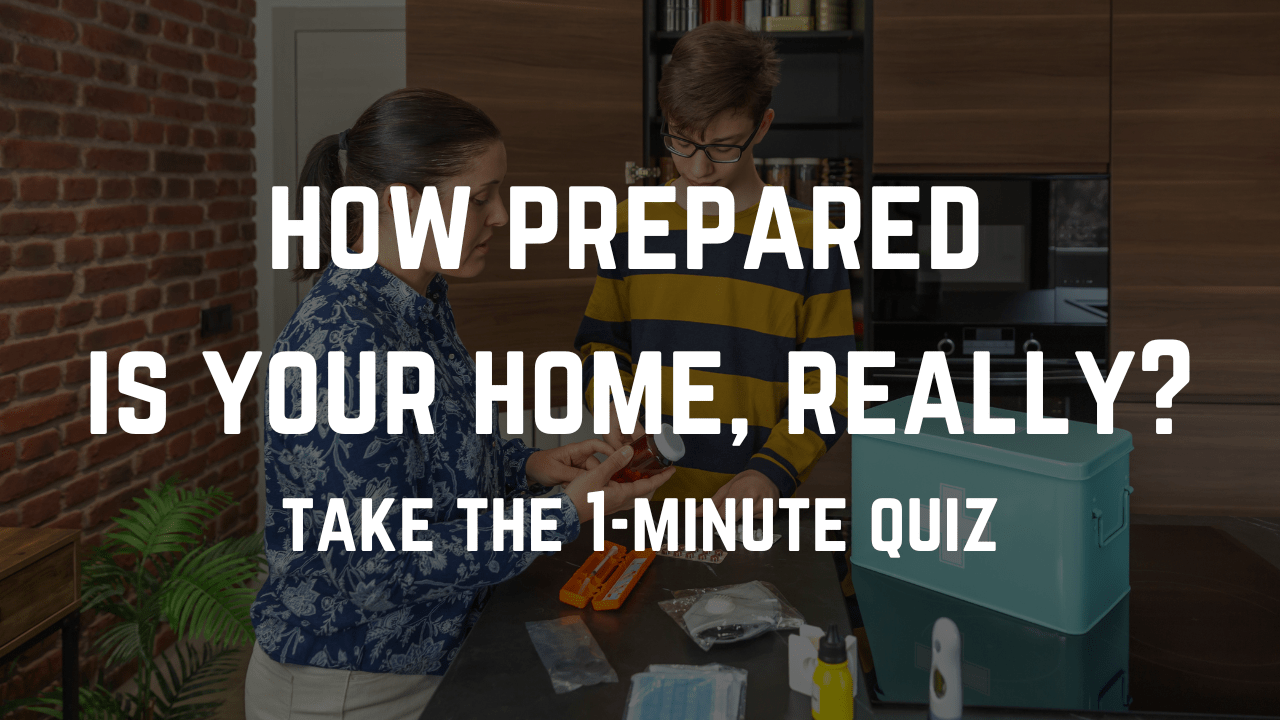
Having a clear evacuation plan can make the difference between confusion and confident action during an emergency.
Still, many people delay creating one because it feels overwhelming or uncomfortable to think about. The good news is that emergency evacuation planning does not have to be complicated. Learning how to create an evacuation plan is one of the most practical steps you can take to protect yourself and the people you care about.
This approach works for households of all sizes, including renters, families with children, pet owners, and those caring for older adults. In this guide, we will walk through how to create an evacuation plan that works in real life through thoughtful preparation, simple decisions, and clear communication you can rely on under stress.
Why Traditional Evacuation Plans Often Fail
Many evacuation plans look great on paper but fall apart in real emergencies. Why? They’re usually:
-
- Too complicated to remember under stress
- Not practiced regularly (or ever)
- Missing crucial details about meeting locations
- Not accessible when you actually need them
- Created without input from everyone involved
The result? When emergencies happen, people freeze or make decisions based on panic rather than preparation.
Step 1: Map Your Meeting Spots (The Most Overlooked Step)
The single most important element of an effective evacuation plan is establishing clear meeting locations at increasing distances from your home. This creates flexibility for different emergency scenarios.
Planning multiple meeting spots helps account for situations such as being away from home, road closures, or longer evacuations.
Meeting Spot #1: Just Outside Your Home
This is where everyone should gather immediately after evacuating your house or apartment. Choose a spot that’s:
-
- Easily visible
- A safe distance from your building (at least 50-100 feet)
- Away from where emergency responders would need access
- Easy to reach from all exits
Good examples include a specific neighbor’s driveway, a large tree at the edge of your property, or a street sign at the corner.
Meeting Spot #2: Outside Your Neighborhood
If your immediate area isn’t safe (think gas leak or wildfire), you need a secondary location that’s walkable but outside the impact zone. This spot should be:
-
- 0.5-1 mile from your home
- Easily identifiable and accessible to all family members
- Open during emergencies (avoid businesses that might close)
- Somewhere you can wait comfortably for several hours
Consider places like a community center, library, specific park bench, or a trusted friend’s home within walking distance.
Meeting Spot #3: Outside Your City
For larger evacuations, designate a meeting point that requires transportation but is still relatively close:
-
- 15-30 miles from your home
- Accessible by multiple routes
- Familiar to everyone in your household
- Ideally with facilities (restrooms, shelter)
Good options include shopping centers, rest stops, or relatives’ homes in neighboring communities.
Meeting Spot #4: A Few Hours Away
For regional disasters, establish a distant meeting location:
-
- 2-4 hours from your home
- In a different direction from likely evacuation flows
- Somewhere with accommodation options
- Ideally the home of a friend or family member
Step 2: Create Clear Evacuation Routes
Knowing where to go is only half the battle, you also need to know how to get there.
For Each Meeting Spot, Map Out:
-
- Primary route – The most direct way there
- Secondary route – An alternative if the primary is blocked
- Walking route – How to reach it if vehicles aren’t an option
Pro tip: Actually drive or walk these routes before an emergency. What looks straightforward on a map might be confusing in person, especially if you’re stressed.
Document Your Routes:
-
- Save digital copies on everyone’s phones
- Keep printed copies in your go-bags and vehicles
- Mark them on physical maps stored with emergency supplies
- Include notes about potential obstacles (bridges, flood zones, etc.)
Step 3: Build Your Emergency Contact Strategy
When emergencies happen, communication networks often become overloaded or fail completely. Create a contact plan that doesn’t rely on a single method.
Local Contacts
These are people within your community who can help with immediate needs:
-
- Neighbors who can check on your home
- Local friends who might provide temporary shelter
- Nearby relatives who could assist with evacuation
Out-of-Area Contacts
Designate at least one person who lives in another region as your family’s primary contact. Often, long-distance calls work when local calls fail. This person becomes your family’s “message center” during emergencies.
Everyone in your household should:
-
- Know this person’s phone number by heart
- Contact them as soon as possible during an emergency
- Relay their location and status
- Get updates about other family members
Emergency Services and Important Numbers
Create a list of essential contacts:
-
- Local emergency services (may not be 911 in all areas)
- Utility companies
- Insurance providers
- Medical providers
- School emergency lines
- Pet emergency services
Step 4: Customize for Your Specific Needs
Your evacuation plan should reflect your unique living situation, routines, and the people and animals who depend on you. Households with pets, seniors, or young children often face different challenges than those without, and these details matter during an evacuation. Taking time to consider your unique situation ensures your plan is realistic and usable under stress.
Use the factors below to adjust your plan so it supports everyone in your household:
Dwelling Type:
-
- Houses: Check our home preparation guide
- Apartments: Special considerations for multi-unit buildings
- Condos: Navigating shared spaces and HOA policies
- Student dorms: Working within institutional evacuation procedures
- RV/Mobile homes: Plans for those with mobile living situations
Regional Risks:
-
- Wildfires: Evacuation guidance for fire-prone areas
- Extreme weather: Cold weather evacuation considerations
- Flooding: Include waterproof containers for documents and electronics
Step 5: Practice Makes Prepared
Even the most thoughtful evacuation plan only works if everyone knows how to follow it. Regular practice helps turn decisions into familiar actions, reducing hesitation and confusion during an emergency. By walking through your plan ahead of time, you give yourself and others the confidence to move quickly and safely when it matters most.
These walk-throughs do not need to be formal. Even a brief review once or twice a year can build familiarity.
Conduct Evacuation Drills:
-
- Time how long it takes to get everyone out of the house
- Practice at different times of day
- Try different scenarios (blocked exits, nighttime, etc.)
- Actually travel to your meeting spots
- Practice without cell phones
Scenario-Based Questions:
During family meals or car rides, pose “what if” scenarios:
-
- “What if we get separated at the mall during an emergency?”
- “What if there’s a fire when I’m not home?”
- “What if cell phones aren’t working?”
These conversations normalize emergency thinking without creating anxiety.
Keep Your Evacuation Plan Organized and Accessible
If you prefer to keep your evacuation details organized in one place, the Ready For Unsteady app can help. The app allows you to store meeting spots, emergency contacts, and key planning notes so they are easy to access when you need them. It is designed to support calm, practical emergency planning without adding complexity.
Final Thoughts: Why This Matters
Creating an evacuation plan helps reduce uncertainty and build peace of mind. When you know you have a clear plan in place, it becomes easier to focus on everyday life without the lingering stress of wondering what might happen.
The most effective emergency preparations are the ones you can recall and use under pressure. A simple plan that is practiced regularly is far more useful than something complicated and easy to forget. Make sure everyone involved understands their role and knows what to do.
Ready to get started? Begin by identifying your four meeting spots today, then move through the remaining steps at a pace that feels manageable. These small actions add up over time.
For more support in building confidence before disruptions happen, explore our preparedness guides designed for real life.